Home || English || Français || Espanol
This tutorial will show you how to design a basic shape. The RoutCad v1.0 Full Release has an extensive user manual, with more advanved examples. This simple shape was design with RoutCad Trial Version, it is intended to give a basic idea of how to use the software and to show the different steps in the creation of a shape. RoutCad v1.0 Full Release has the full set of capabilities and options to allow to design complex contour, shapes, and 3D objects. RoutCad v1.0 Full Release version makes it easy to work with and allows you to create precise geometry.
After downloading and installing RoutCad Trial. You start RoutCad Trial by double clicking the icon that is created at installation.
Note : With RoutCad Trial version you can save your project, but if you exit RoutCad Trial version, your design file is still saved but you'll not be able to load it. To be able to load your files and use all other features please order RoutCad V1.0 Full Version.
The first step in designing your project is to select your material type and colour.
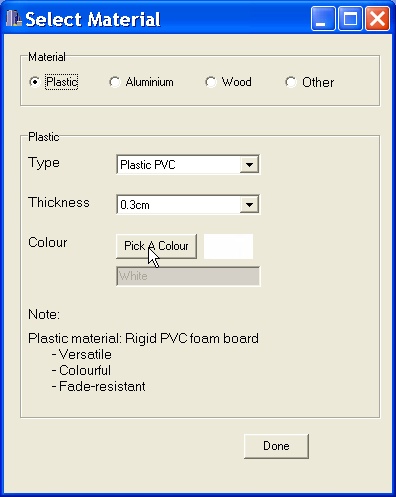
In this example, the PVC foam board "plastic" of thickness 3 mm is selected.
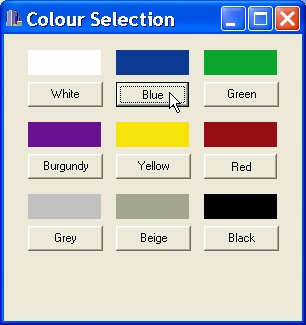
The colour of the plastic selected is blue.
Note : For plastic in colour white, all thicknesses are available. For all other colours, 3mm and 6mm thickness are available.
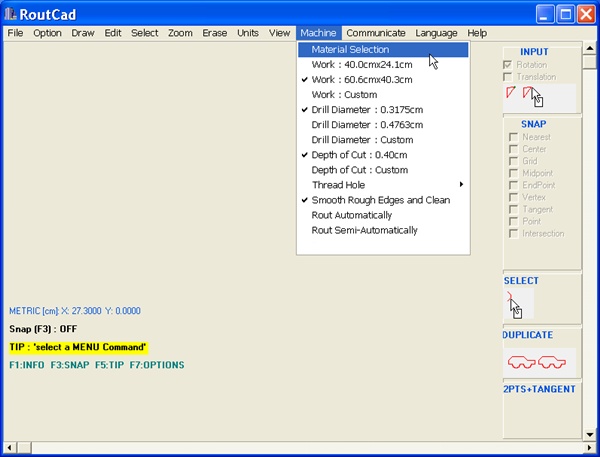
Go to the menu item "Machine", and click on "Material Selection".
Select "plastic", 3mm and click on "Pick A Colour".
Then click on colour "Blue" and click on "Done".
The work size area is how big of an area you need for your part. In this example the work area that we will define is 10cm large by 10 cm high.
Go back to the "Machine" menu and click on "Work : Custom".

To define a 10cmx10cm work area. Enter 10 in the first box (width) and 10 in the second box (height). Then click "Continue".

We are going to design a "happy face", we start by drawing a full circle.
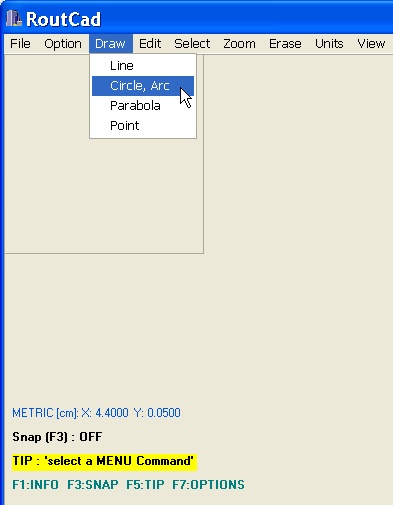
Go to the menu "Draw" and click on "Circle, Arc".
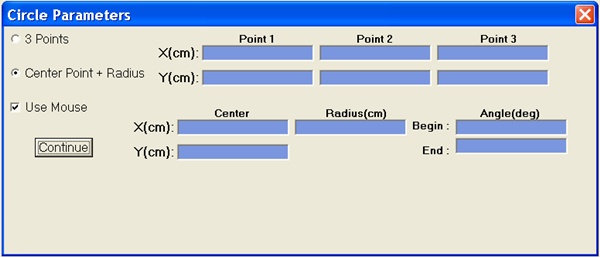
The "Circle Parameters" page appears.
Select "Center Point + Radius" and "Use Mouse", then click on "Continue".
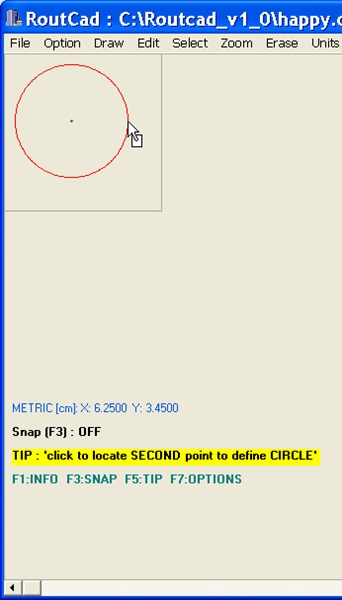
Use the mouse to draw the circle. Click the mouse left button within the work area to define the center of the circle.
Then, drag the mouse and click the left button again to define the diameter of the circle.
Next, we are going to draw the "mouth" using an arc.
Go back to the menu "Draw" and click on "Circle,Arc".
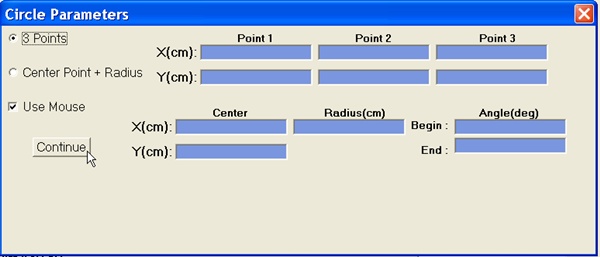
Select "3 Points" and "Use Mouse", then click on "Continue".
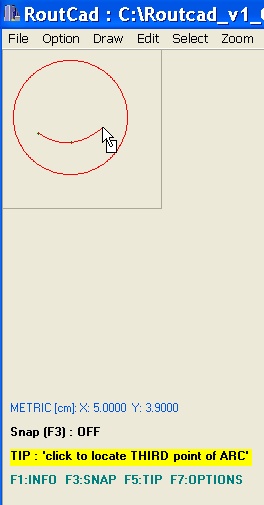
Click for the 1st point, 2nd point and third point of the arc.
Next, we are going to draw the "eyes" using two points.
Go to the menu "Draw" and click on "Point".
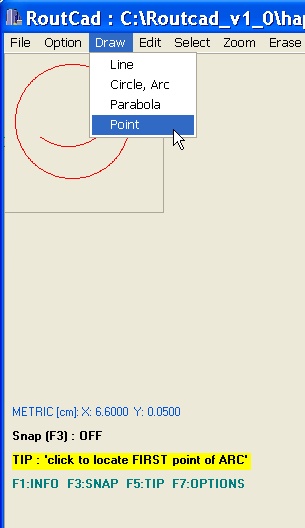
Select "Use Mouse", then click on "Continue".
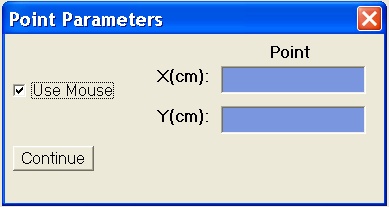
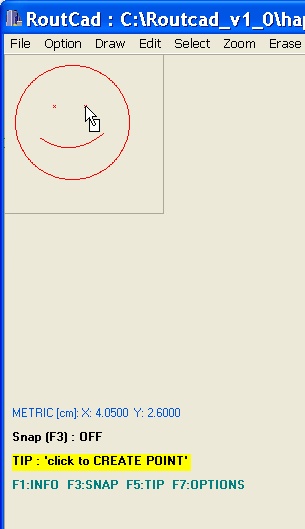
Use the mouse to draw the points. Click on the desired location within the face to define the two points.
The routing sequence is the order in which the drawing elements : point, line, circle/arc, parabola will be machine by the automated machining system.
In our example, it is important to select the elements inside the big circle first and the big circle last. If the big circle is selected first, the automated machining system will machine the big circle first, which will fall off the support material due to gravity, and the eyes and mouth will never be machined. This simple rule must be follow : define in the rout sequence all the elements inside a closed contour first, then define the rout sequence for the closed contour last.
To start defining the routing sequence, go to the menu item "Machine" and select "Rout Semi-Automatically".
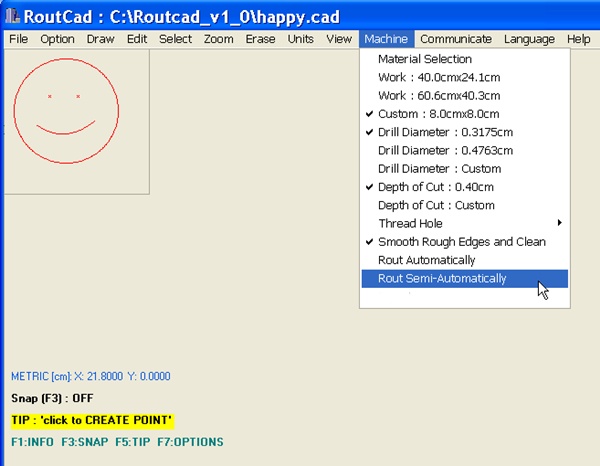
Move the mouse over the first point and click.
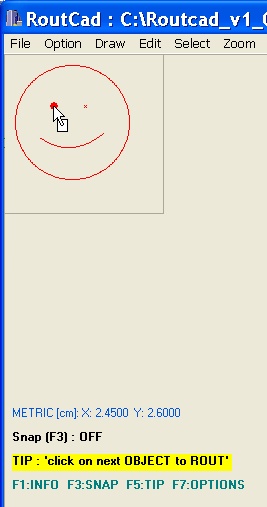
Move the mouse over the second point and click.
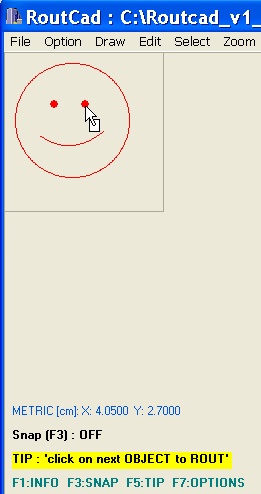
Move the mouse over the arc and click.
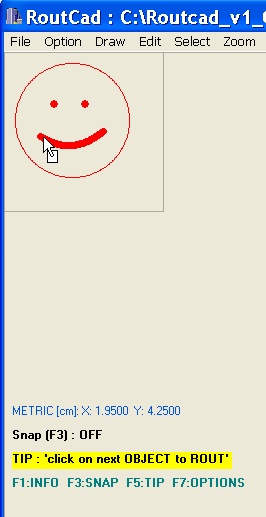
Move the mouse over the circle and click.
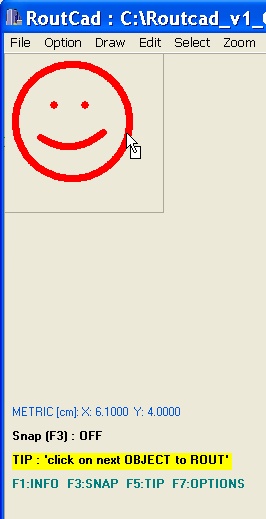
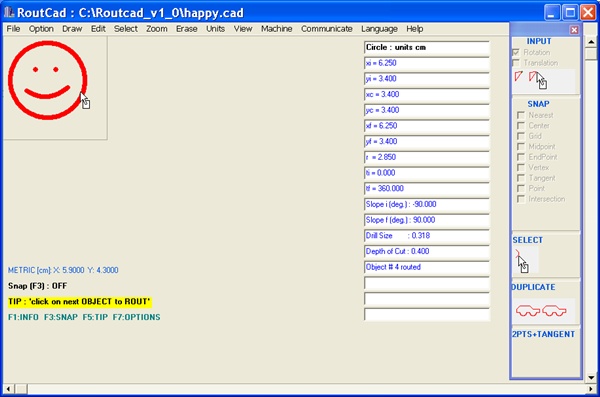
To view information about the big circle for example, move the mouse over the big circle and click the middle button or press F1.
What is to be noted, is that the element is a 'circle' and that it is '#4' in the rout sequence, which means the inside elements are machined first. The outside is the last element to be machined.
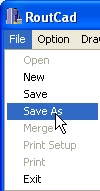
You must save your project before transmitting. To save your project go to the menu "File" and click on "Save as".
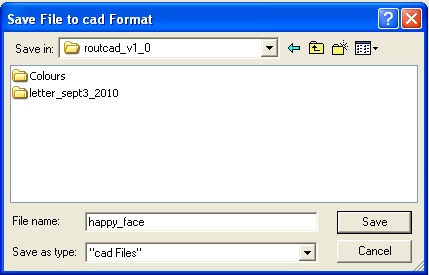
Select a folder and file name.
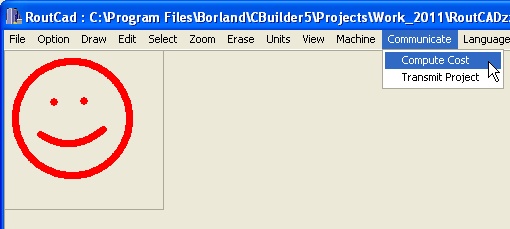
Go to the menu "Communicate" and click on "Compute Cost".
Click "OK" .
Make sure you're connected to the internet.
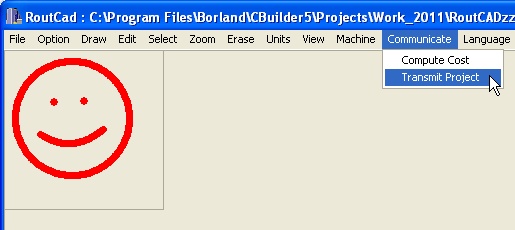
Go to the menu "Communicate" click on "Transmit Project".
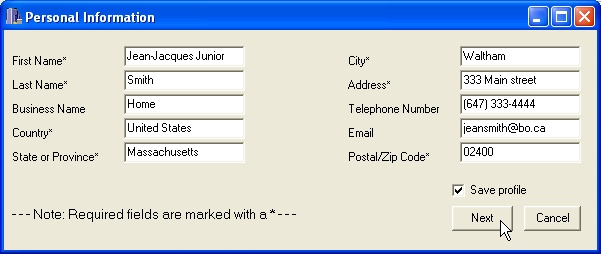
Enter your information and click on "Next".
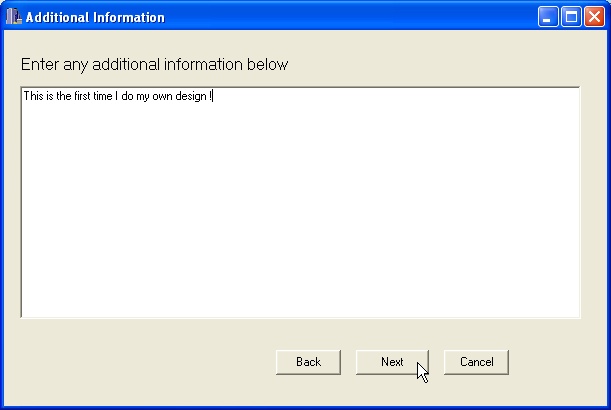
Enter any additional information, then click "Next".
Click on "Add" to select your design.
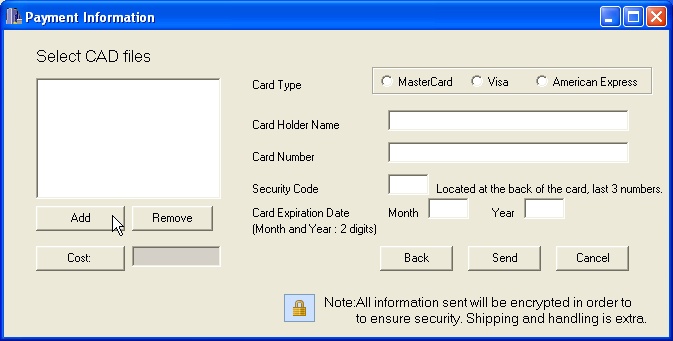
Select your design.
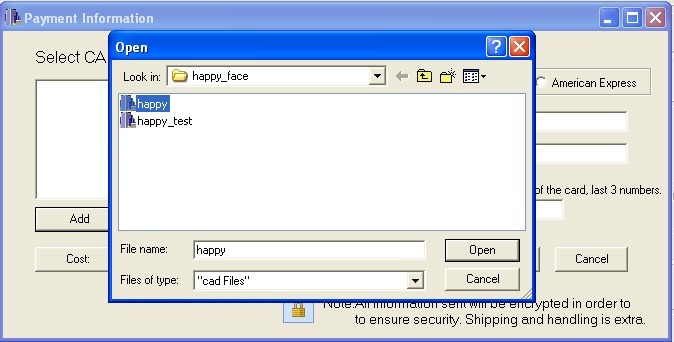
Then, click on "Cost".
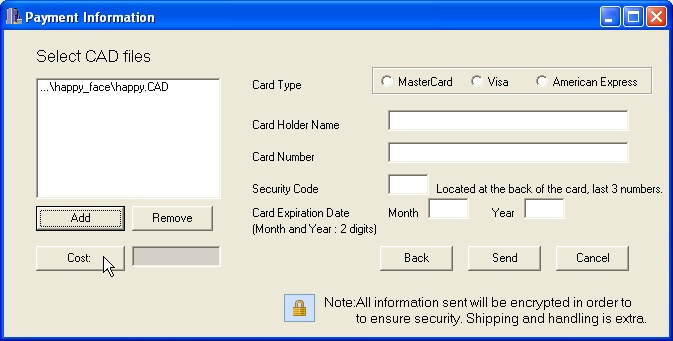
Enter your payment information, credit card name, number, etc. Your credit card number and personal information is protected (encrypted prior to transmission to server).
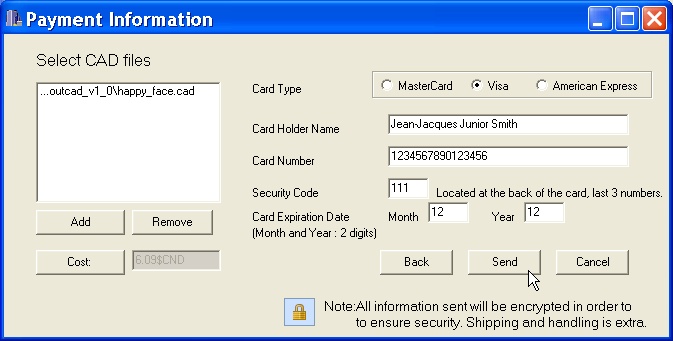
Click on "Send".
The "Information Review" page appears. Please review carefully all information for correctness before pressing "Send". Click on "Cancel" and go back to correct any errors.
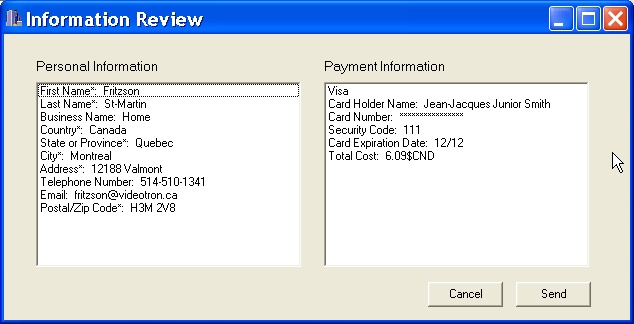
The last pop up is the confirmation that your design has been sent. Please write down your confirmation number. If an error occured and you received no confirmation number, this indicate that your design has not been sent.

RoutCAD(TM) offers two ways of drawing shapes; by either using the mouse or enter coordinates. Only the mouse method will be described here as it is much easier.
See the RoutCAD(TM) manuel for more advanced features.
Select any shape you want to draw by clicking the "Draw" tab on the top menu. Check "use mouse" option and you are set.
Drawing lines:
Go to the Draw menu and select Line. This option allows you to draw straight
horizontal, vertical or diagonal lines. There are three ways of drawing a line, you can draw a line typing the co-ordinates
of the 1st and the 2nd points which corresponds to the each end of the line, select the 2 Points option in the Line Parameters
or type the desired co-ordinates for each point
Drawing Arc or Circle:
Go to the Draw menu and select the Circle, Arc. There are two ways of drawing a circle.
You can draw a circle by typing the co-ordinates of the centre point and radius or use the mouse to select those points.
1.2 entering the co-ordinates of the centre point desired
Drawing Parabola:
Go to the menu Draw and select the Spine option. There are two ways of drawing a parabola.You can draw a parabola by typing
or using the mouse to select the co-ordinates of the three points. The first point indicate where the parabola is to begin on the canvas, the second point
correspond to the curve or the parabola and the third point shows where the parabola is to end.
Machine:
The Machine tab allow you to choose your working material size, what type of drill you wish to use and how the routing should be done
Complex shapes are drawn in combination with the basic shapes using the tools in "Option", "Edit", "Select", "Zoom"... tabs
Only a few topics will be discussed here. Refer to th RoutCAD(TM) user manual for further instructions.
Snap:
Snap is a key feature of the RoutCAD(TM) software to enhance the accuracy of the drawing when using a mouse. This option allows you to reach the closest point to an existing object or figure while drawing a
new object. You can choose to snap to the nearest, centre, mid (middle) or endpoint of an
existing object or figure. You can also snap to the grid, to the vertex, to a tangent, or to a point.
To turn the snap option On or Off, press F3. You can use these options as a combination or
individually.
Copy Paste:
To copy a figure : Go to the menu item Select and check Window. The selection of Window
identifies the objects to be copied. After selecting Window, go to the menu item Edit and select
Copy-> Paste. First you must choose what objects you want to have copied. After choosing so,
click on the canvas for the first point of the copy window. (The copy window will highlight the
object you want to have copied) Now, drag the mouse until you have found the desired size of
the copy window, which should cover the object you want copied. Click on the canvas for the
second point of the copy window. After these selections, click on the initial location of the
translation window (this is the window of space in the canvas to which your object will be
moved). Click for a final location of the translation window. If Option->Duplicate is checked, the
old figure is retained and a copy of the figure is pasted at the desired location. If the Option-
>Duplicate is unchecked, the old figure is deleted and a copy of the figure is pasted.
On the RoutCAD(TM) program, this tab only changes the dimension of your work space. The actual effect is seeing on the final product. Note that you can chose your setting in either metric or imperial measures by changing the selection in the "Units" tab.